

代码拉取完成,页面将自动刷新
This document is based on four typical scenarios, from simple to complex, to introduce how to use the package in a typical way, so that developers can quickly get started using Apollo.
Before reading this document, make sure you have installed the Apollo environment manager tool and launch apollo env container successfully according to the installation documentation.
This scenario describes how to use Dreamview to play records and provides a foundation for developers to become familiar with the Apollo platform. You can use Dreamview to play the records provided by Apollo to further observe and learn about Apollo autonomous driving.
This article explains the installation and simple usage steps of Dreamview. For the detailed documentation of Dreamview, see the Dreamview documentation.
mkdir application-demo
cd application-demo
aem start
aem enter
Note: If you want to force the container to be recreated you can specify the
-foption and If you are using multiple containers at the same time, it is helpful to specify the container name with the--nameoption
aem init
In the same terminal, enter the following command to install Apollo's DreamView program.
sudo apt install apollo-neo-dreamview-dev apollo-neo-monitor-dev
In the same terminal, enter the following command to start Apollo's DreamView program.
aem bootstrap start
A file with .record suffix is what we call a record.
The Record file is used to record messages sent/received to/from channels in Cyber RT. Reply record files can help reproduce the behavior of previous operations of Cyber RT.
From the command line, type the following command to download the record package.
wget https://apollo-system.cdn.bcebos.com/dataset/6.0_edu/demo_3.5.record
cyber_recorder play -f demo_3.5.record --loop
Note: The --loop option is used to set the loop playback mode.
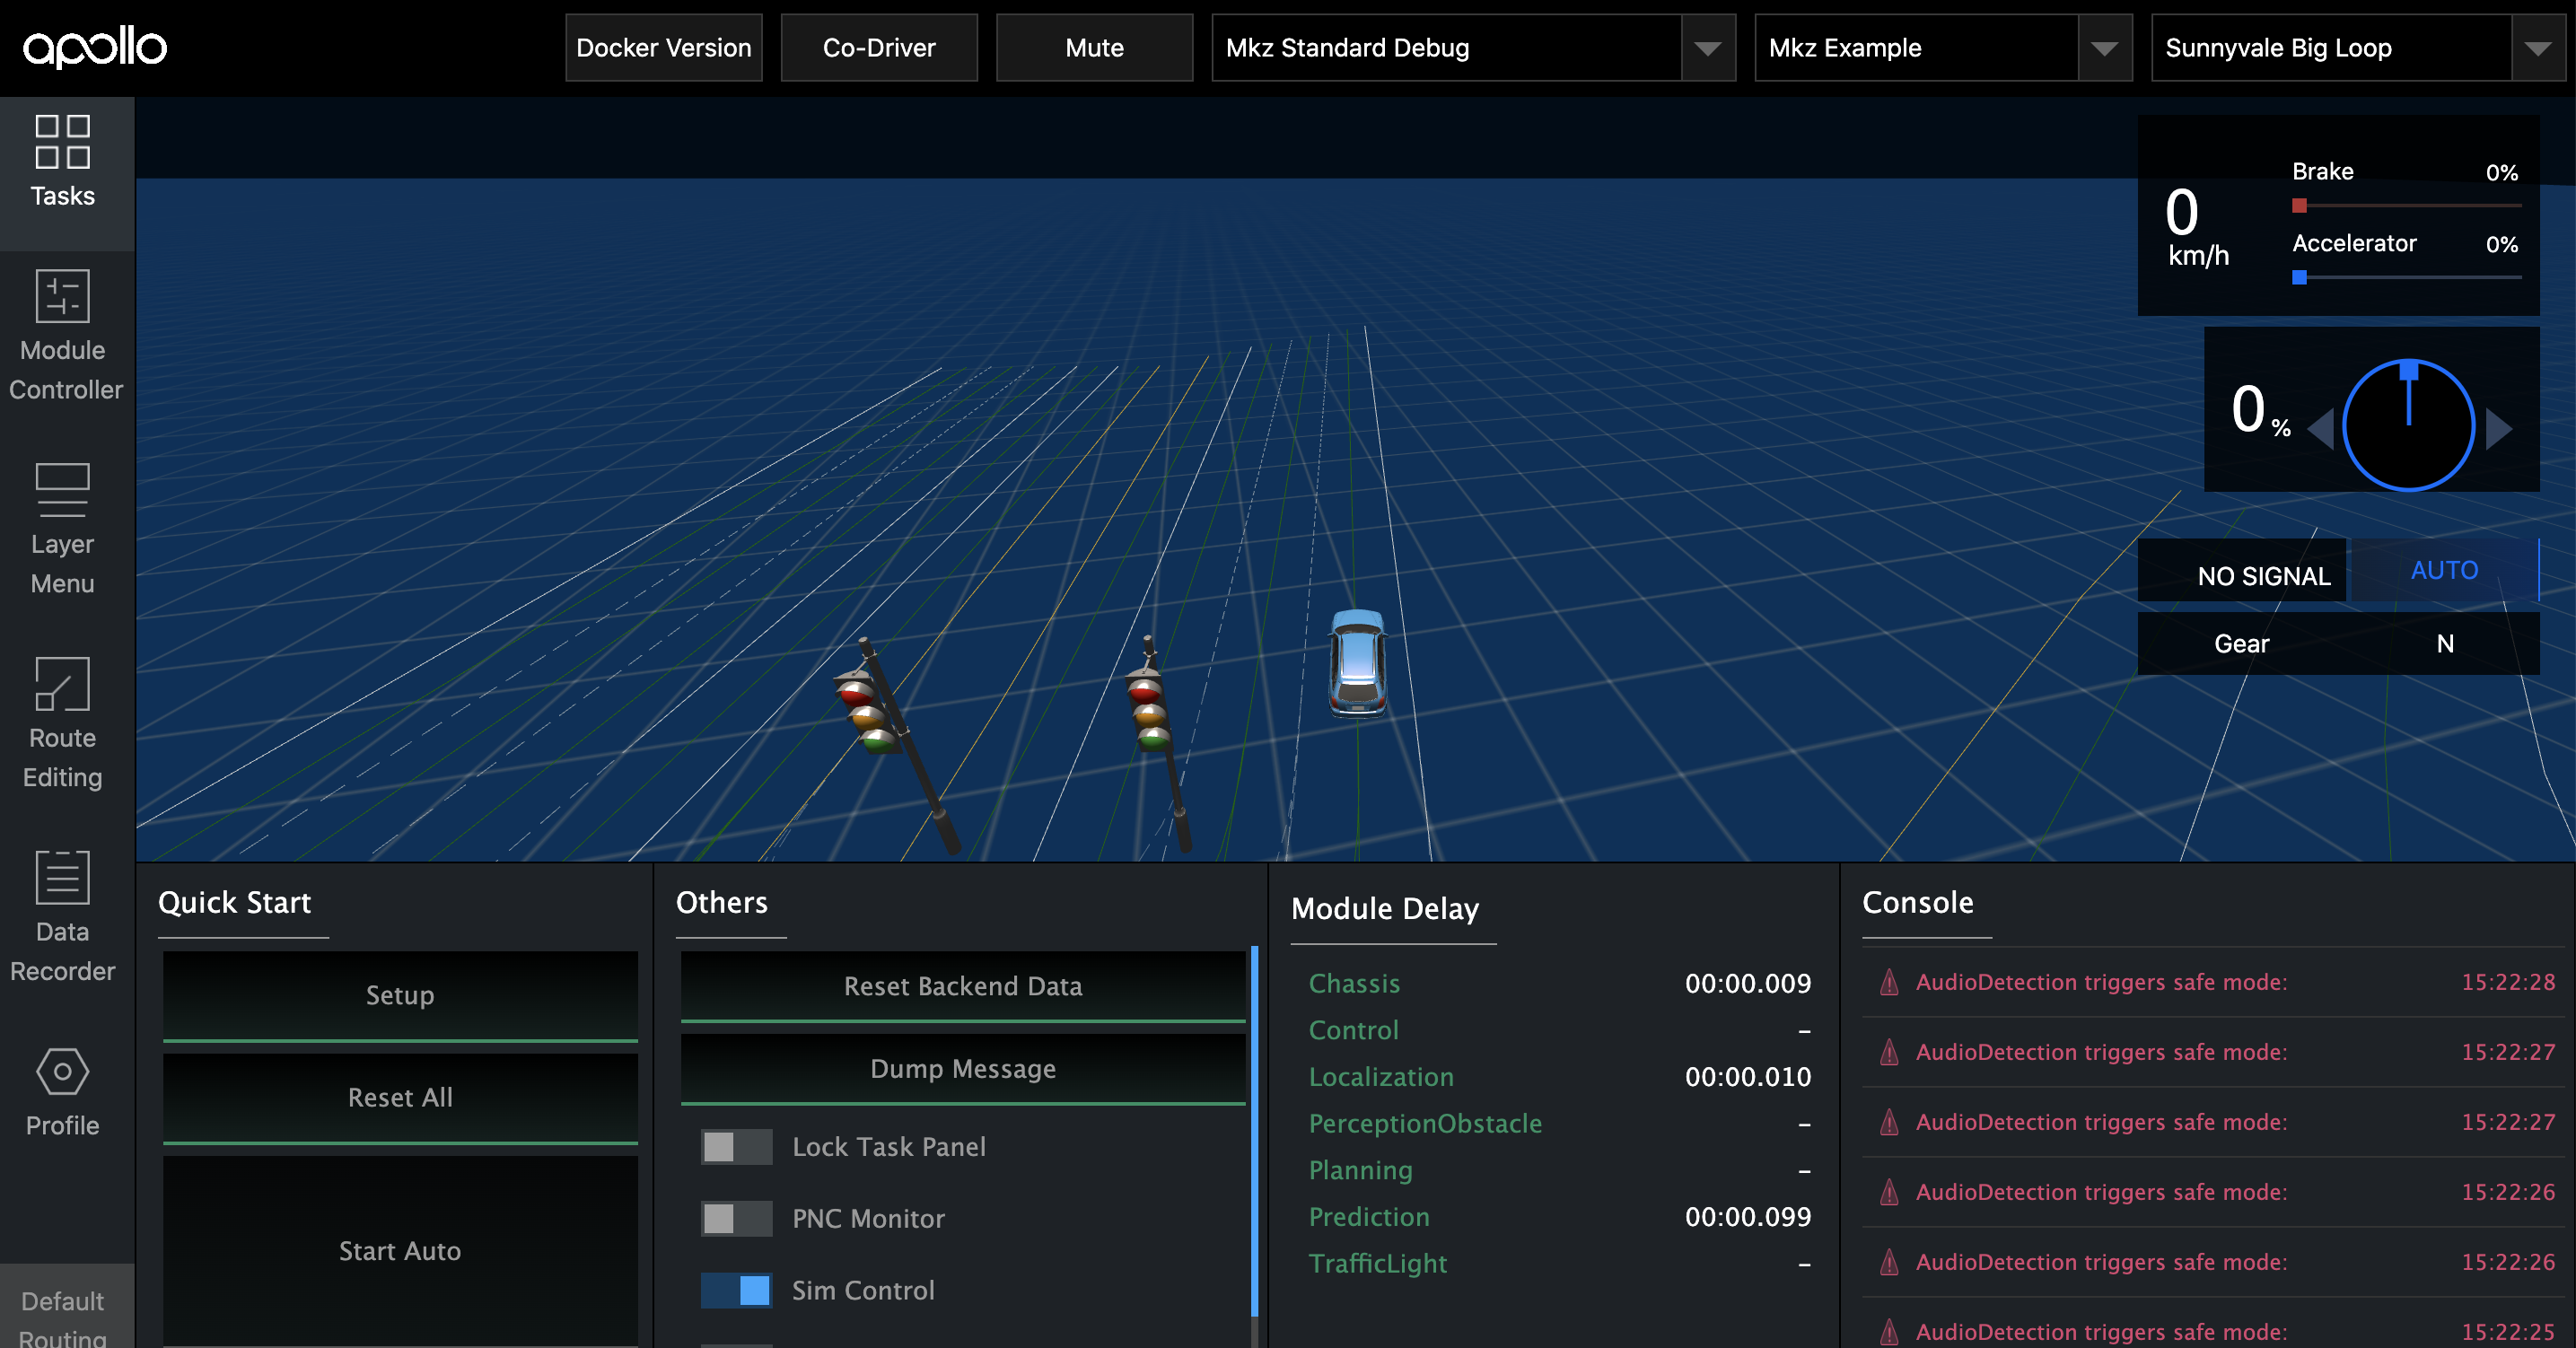
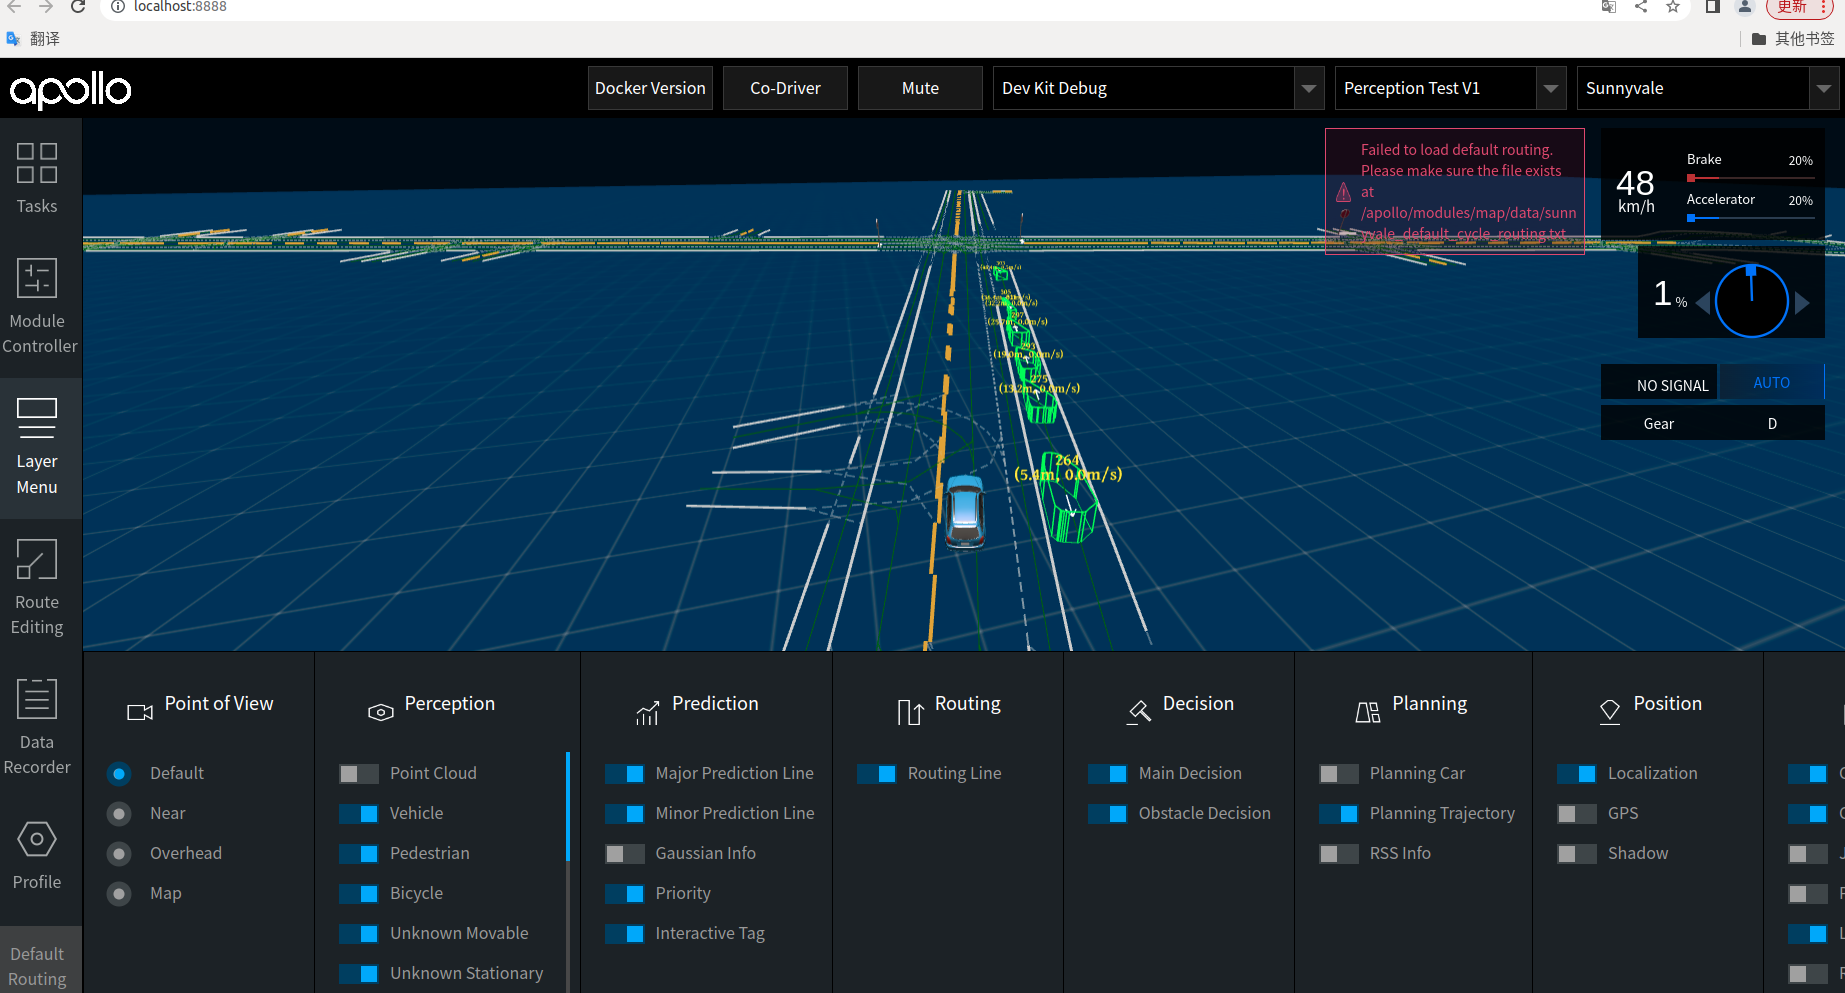
Enter https://localhost:8888 in your browser to access Apollo DreamView:
If all is well, you can see a car moving forward in DreamView. The car and road conditions you see now are simply a playback of the data from the record by DreamView, just like playing back a recorded video.
Enter the following command to end the DreamView process:
aem bootstrap stop
This document describes how to develop and compile and run a Cyber component as a simple extension to example-component to provide a foundation for developers to become familiar with the Apollo platform. You can observe and learn more about the Apollo compilation process by compiling and running example-component.
The source code of example-component in the QuickStart Project is a demo based on Cyber RT extending Apollo functional components. If you are interested in how to write a component, dag file and launch file, you can find the full source code of example-component in the QuickStart Project.
The directory structure of demo/example-component is shown below:
demo/example_components/
|-- src
|   |-- common_component_example.cc
|   |-- common_component_example.h
|   |-- BUILD
|-- proto
|   |--examples.proto
|   |--BUILD
|-- BUILD
|-- cyberfile.xml
|-- example.dag
|-- example.launch
Clone demo project
git clone https://github.com/ApolloAuto/application-demo.git
and enter project directory
cd application-demo
Start apollo env container.
aem start
Note: If you want to force the container to be recreated you can specify the
-foption and If you are using multiple containers at the same time, it is helpful to specify the container name with the--nameoption.
Enter apollo env container.
aem enter
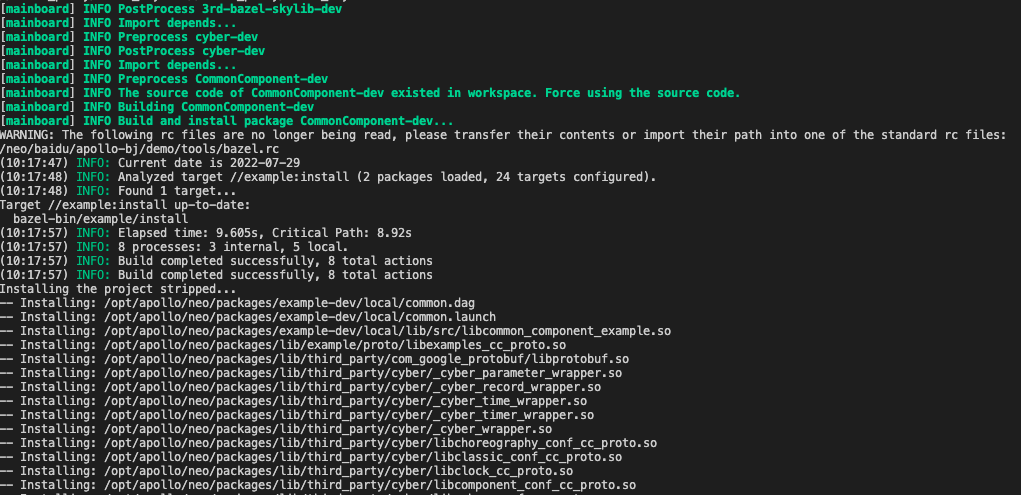
Enter the following command to compile the component.
buildtool build --packages example_components
The --packages argument specifies the path to the package specified in the compilation workspace, in this case example_components.
For more detailed usage of
buildtool, please refer to the Apollo buildtool documentation
When you call the script build command, the current directory is the workspace directory, so be sure to use the script build command in the workspace.
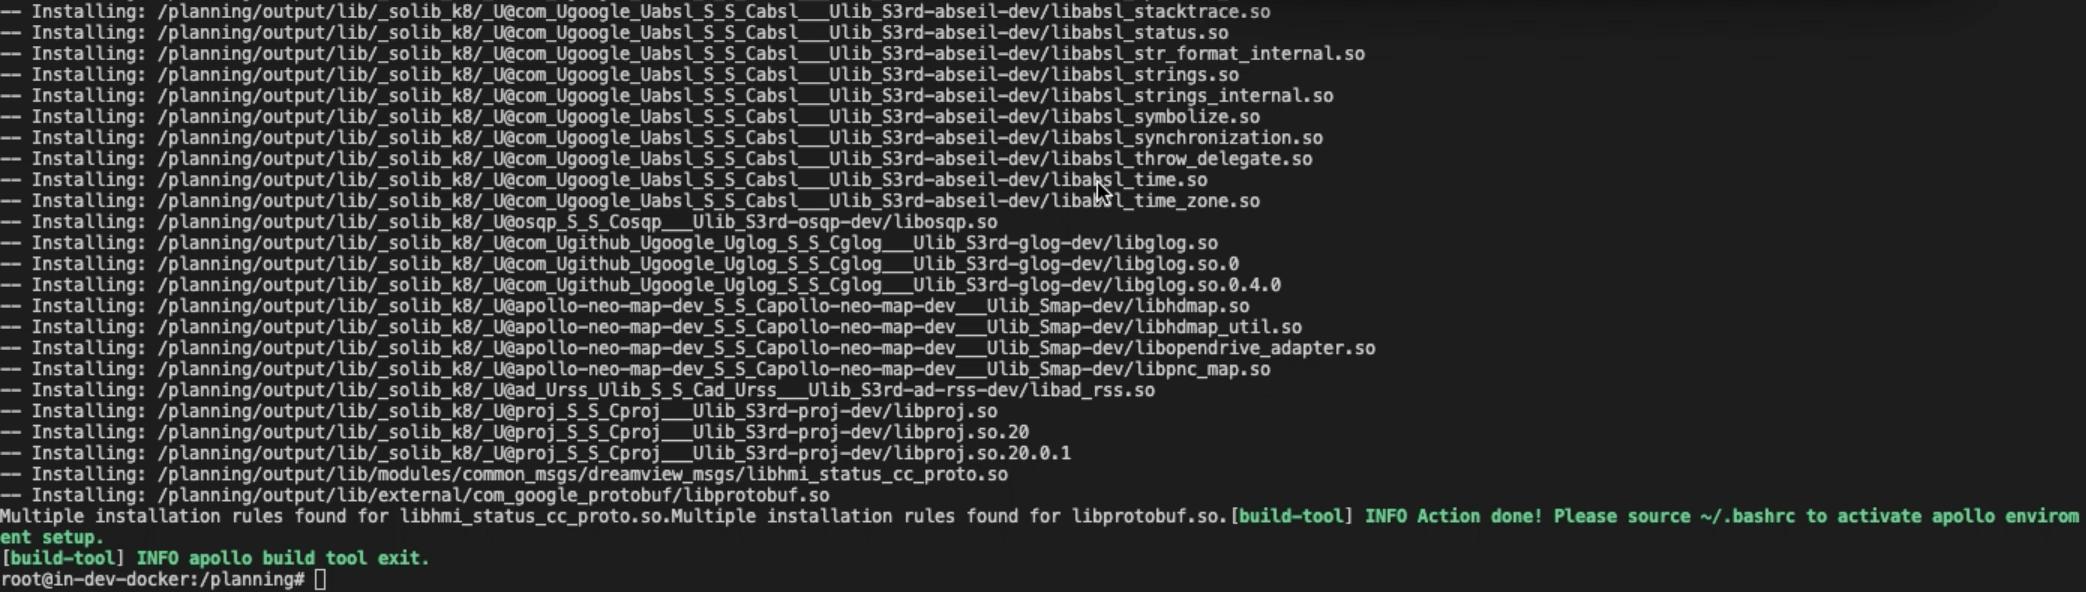
Apollo's compilation tool will automatically analyze all the required dependencies, download and generate the necessary dependency information files automatically.
If the compiler needs to pass in arguments, you can use --builder_args to specify them.
Run the following command:
cyber_launch start example_components/example.launch
If everything works, the terminal will display as follows:

At this point, you can open another terminal, run cyber_monitor, and observe the data in channels:
cyber_monitor
This scenario describes how to learn and adjust the planning module, compile and debug the planning module, and help developers get familiar with the Apollo 8.0 development model.
The planning_customization module is an End-2-End solution (i.e. you can run through the entire contents of Routing Request within the simulation environment), but it does not contain any source code but a cyberfile.xml file. The cyberfile.xml file describes all the component packages (planning-dev, dreamview-dev, routing-dev, task_manager, and monitor-dev) that are dependent on the scenario and how they have been imported. Since the planning source code needs to be extended, the planning-dev package is introduced as "src", and the planning source code is automatically downloaded and copied to the workspace when the module is compiled.
The cyberfile for planning_customization is shown as follows:
<package>
  <name>planning-customization</name>
  <version>1.0.0</version>
  <description>
   planning_customization
  </description>
  <maintainer email="apollo-support@baidu.com">apollo-support</maintainer>
  <type>module</type>
  <src_path>//planning_customization</src_path>
  <license>BSD</license>
  <author>Apollo</author>
  <depend>bazel-extend-tools-dev</depend>
  <depend type="binary" repo_name="dreamview">dreamview-dev</depend>
  <depend type="binary" repo_name="routing">routing-dev</depend>
  <depend type="binary" repo_name="task-manager">task-manager-dev</depend>
  <depend type="binary" repo_name="monitor">monitor-dev</depend>
  <depend type="src" repo_name="planning">planning-dev</depend>

  <depend expose="False">3rd-rules-python-dev</depend>
  <depend expose="False">3rd-grpc-dev</depend>
  <depend expose="False">3rd-bazel-skylib-dev</depend>
  <depend expose="False">3rd-rules-proto-dev</depend>
  <depend expose="False">3rd-py-dev</depend>
  <depend expose="False">3rd-gpus-dev</depend>

  <builder>bazel</builder>
</package>
Clone demo project
git clone https://github.com/ApolloAuto/application-demo.git
and enter project directory
cd application-demo
Start apollo env container.
aem start
Note: If you want to force the container to be recreated you can specify the
-foption and If you are using multiple containers at the same time, it is helpful to specify the container name with the--nameoption.
Enter apollo env container.
aem enter
buildtool build --packages planning_customization
The --packages argument specifies the path to the package specified in the compilation workspace, in this case planning_customization, and defaults to all packages in the workspace if not specified.
When script compile command is called, the current directory is the workspace directory, so be sure to use the script compile command under the workspace.
Apollo's compilation tool will automatically analyze all the required dependencies, download and generate the necessary dependency information files automatically. The first time you build, you need to pull some dependency packages from the Internet, which takes about 13 minutes depending on the speed and configuration of your computer.
Enter the following command to run dreamview:
aem bootstrap start
If you have already started Dreamview, enter the following command to restart the Dreamview process:
aem bootstrap restart
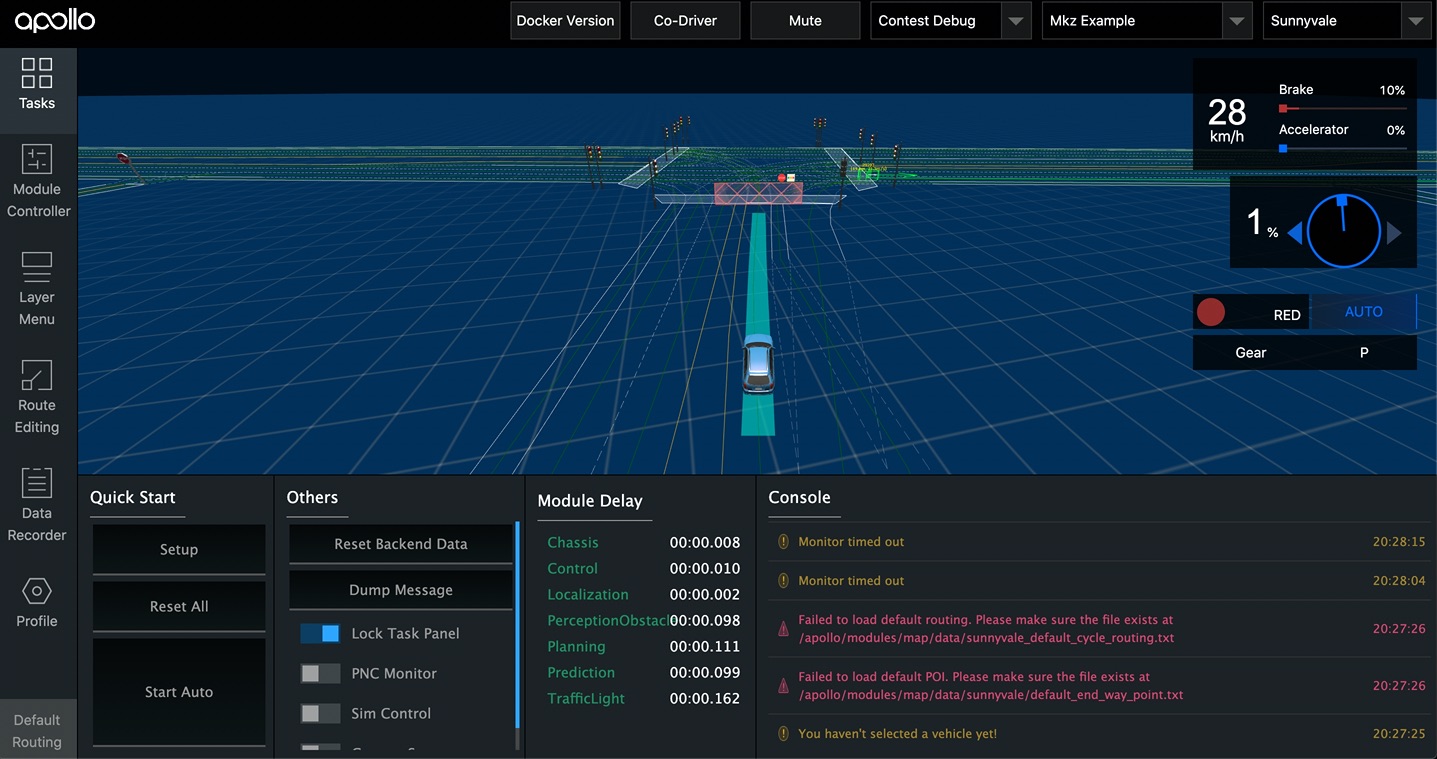
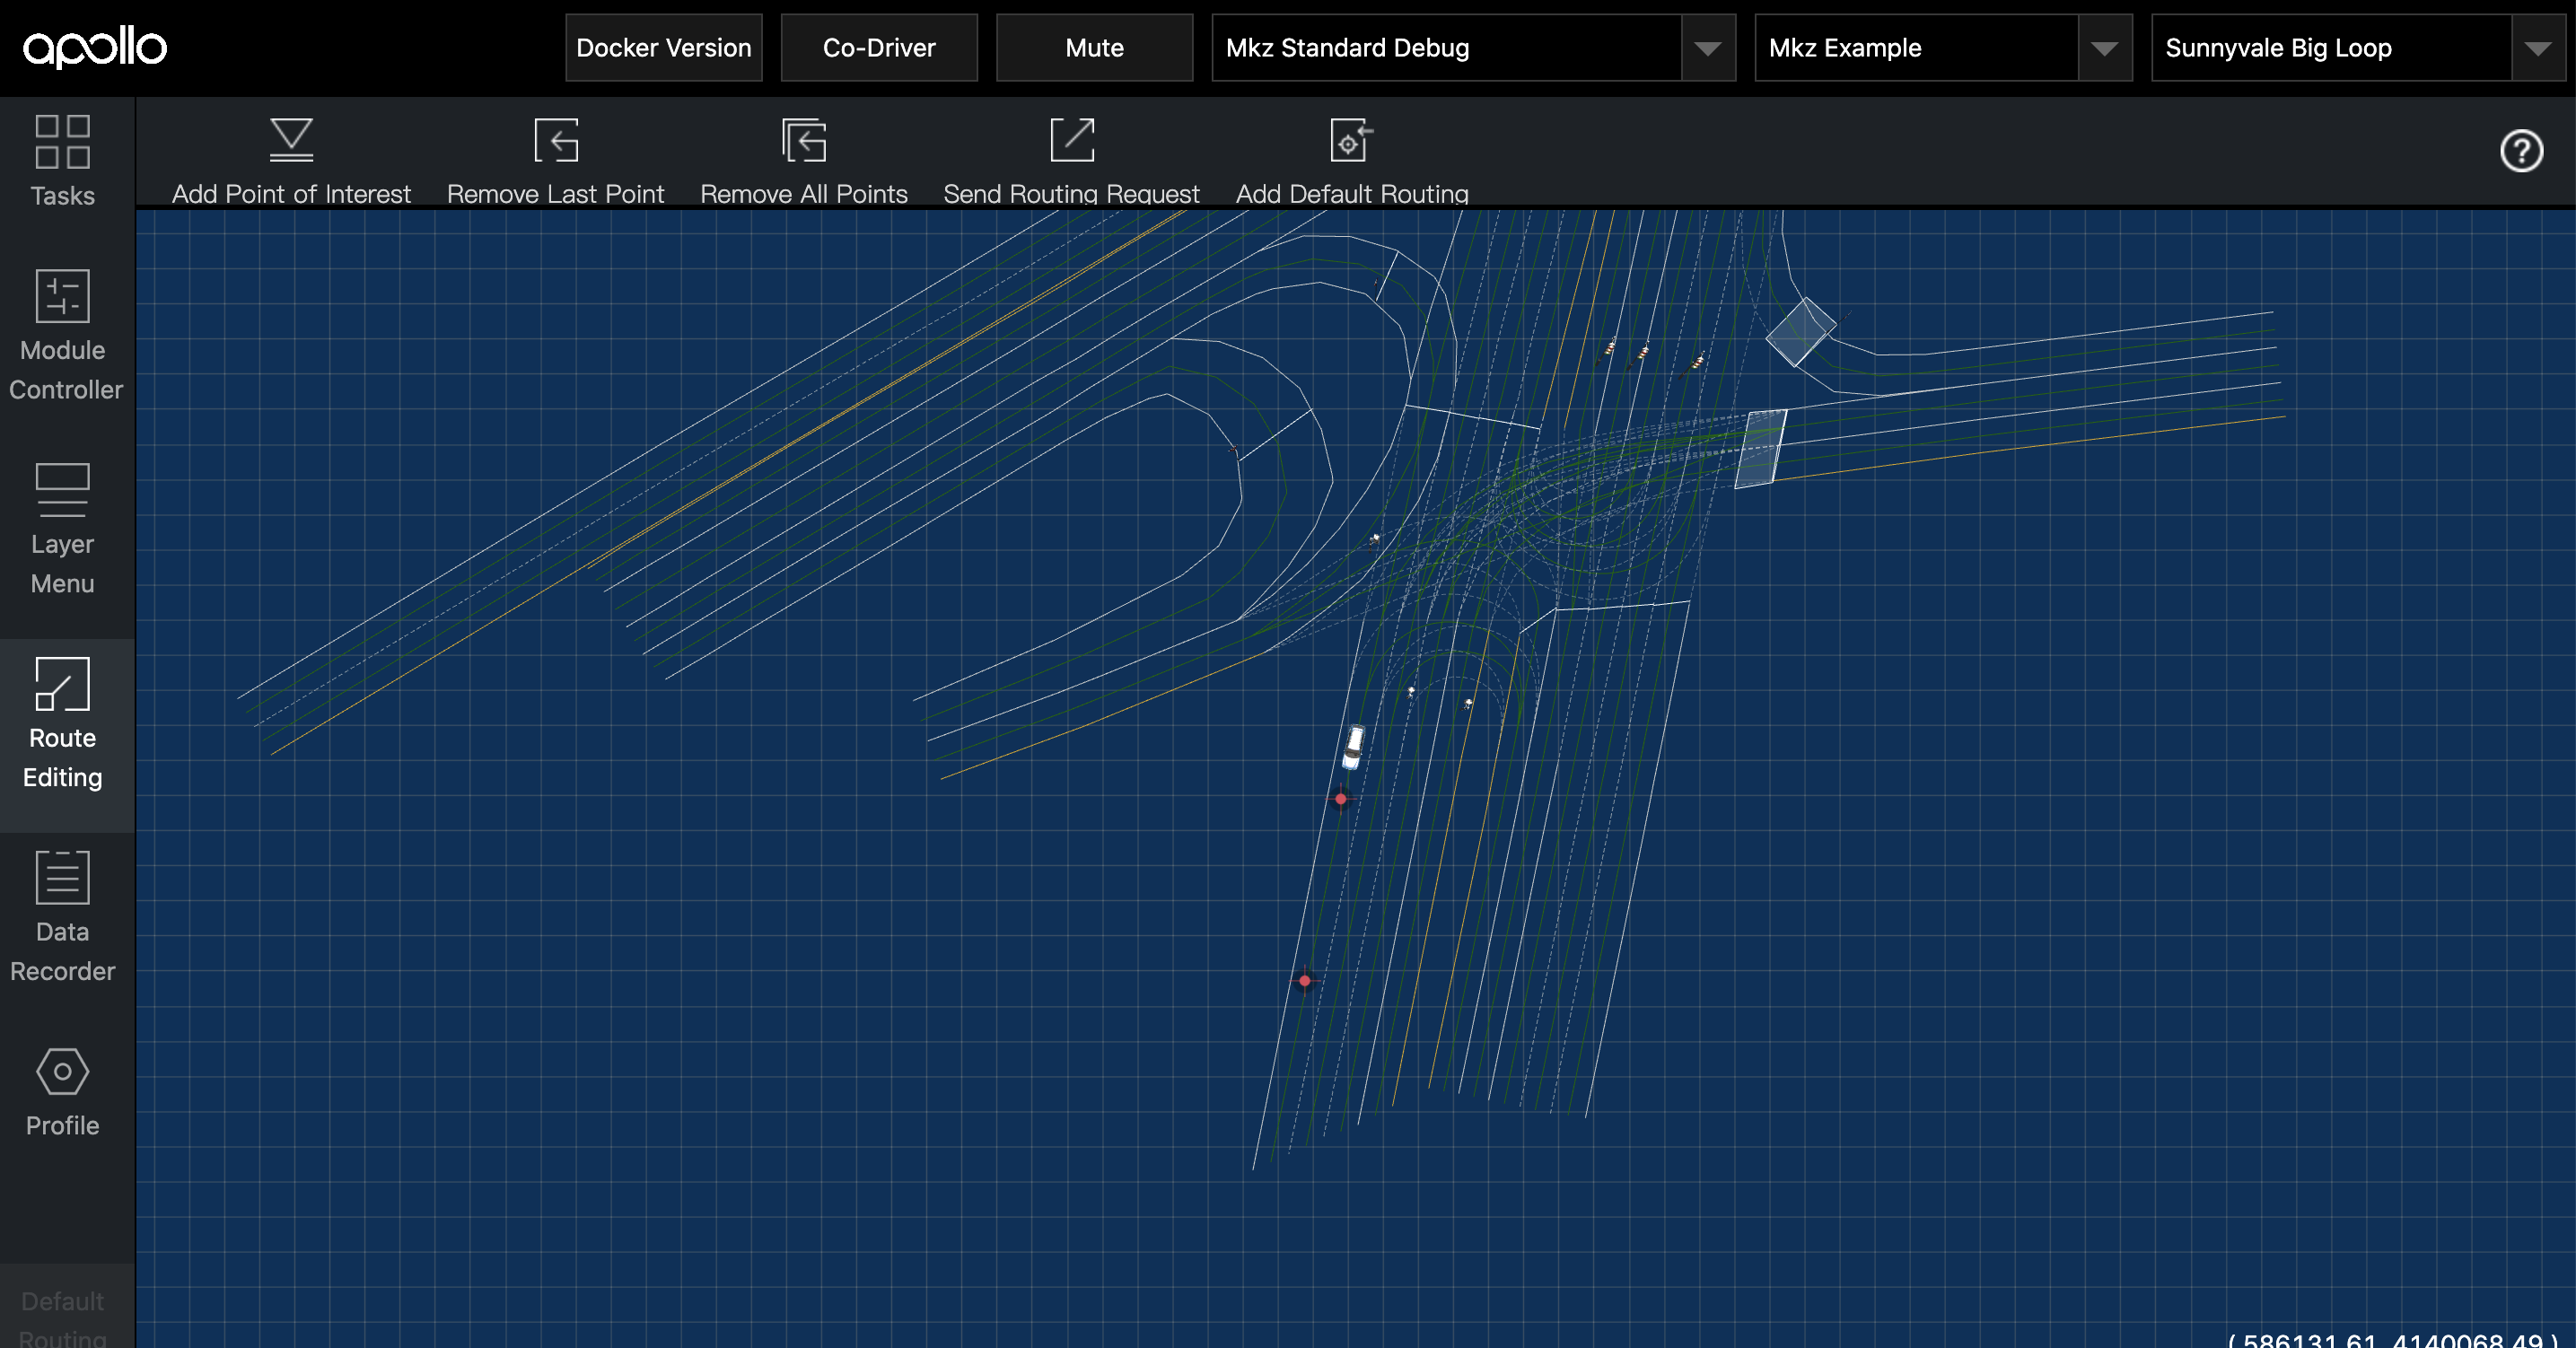
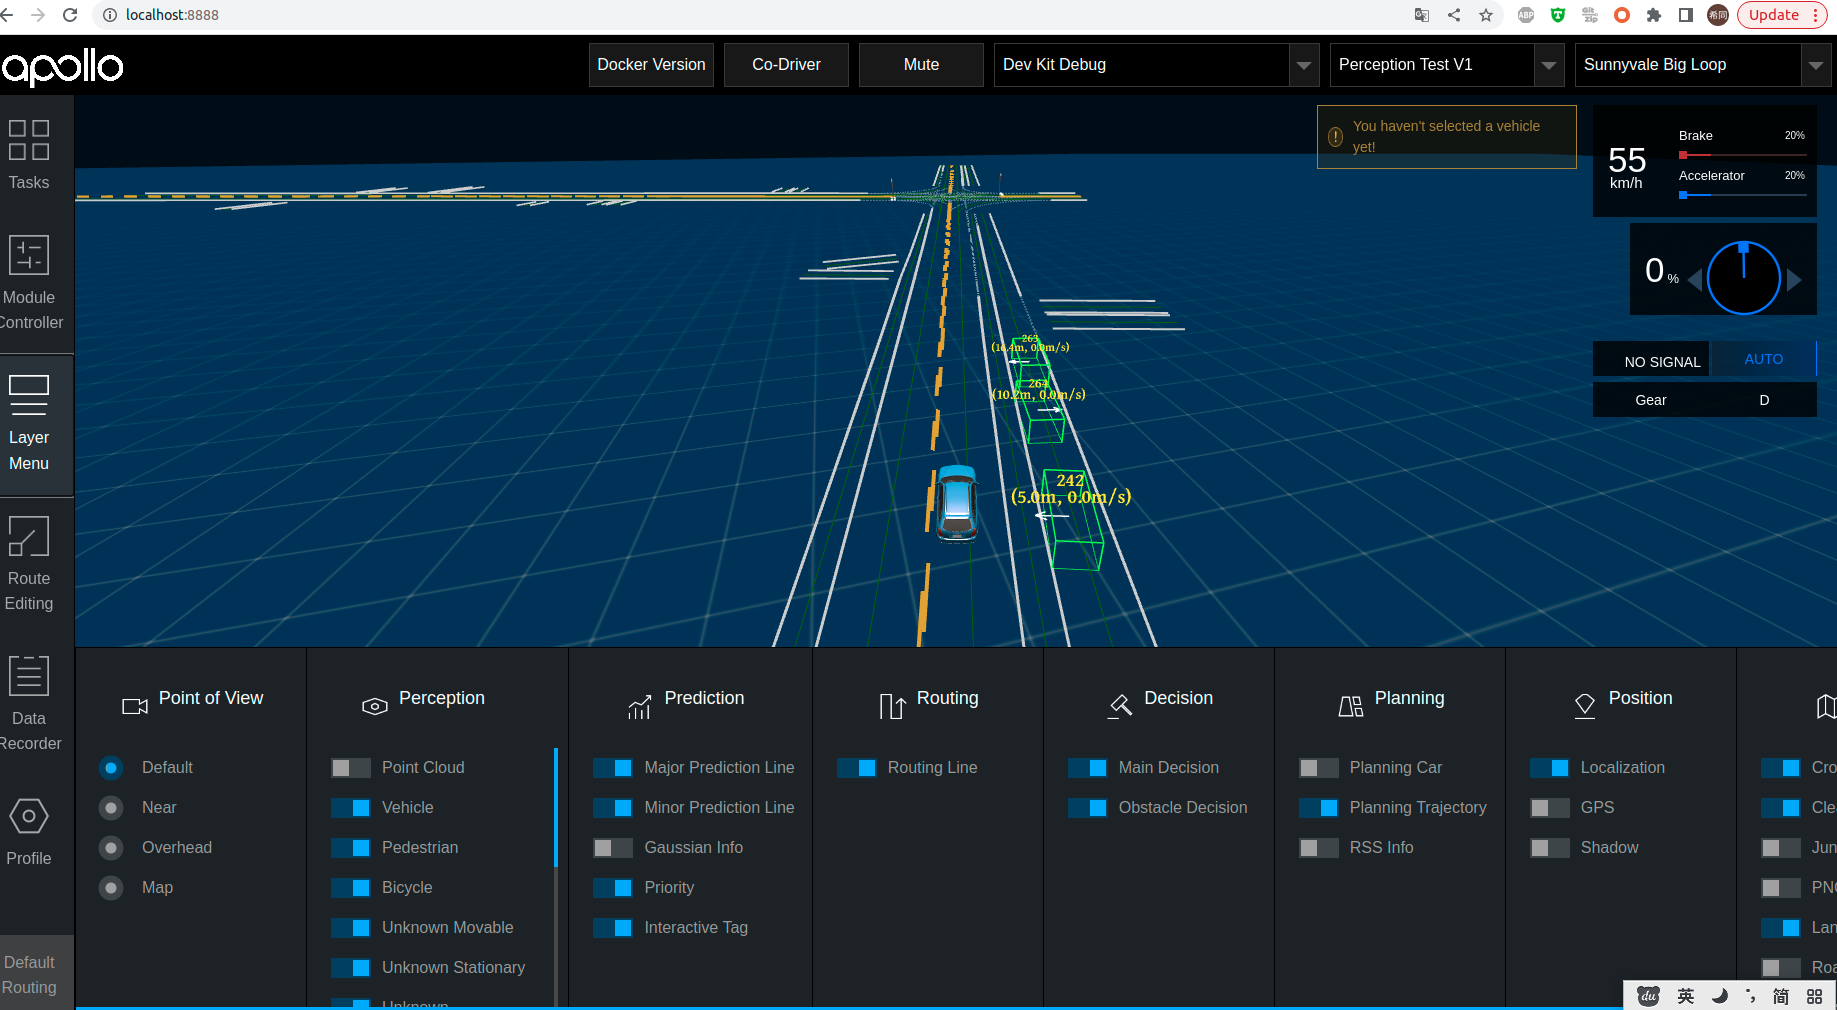
At this point, DreamView and monitor will be started automatically, and you can enter localhost:8888 in your browser to open DreamView:
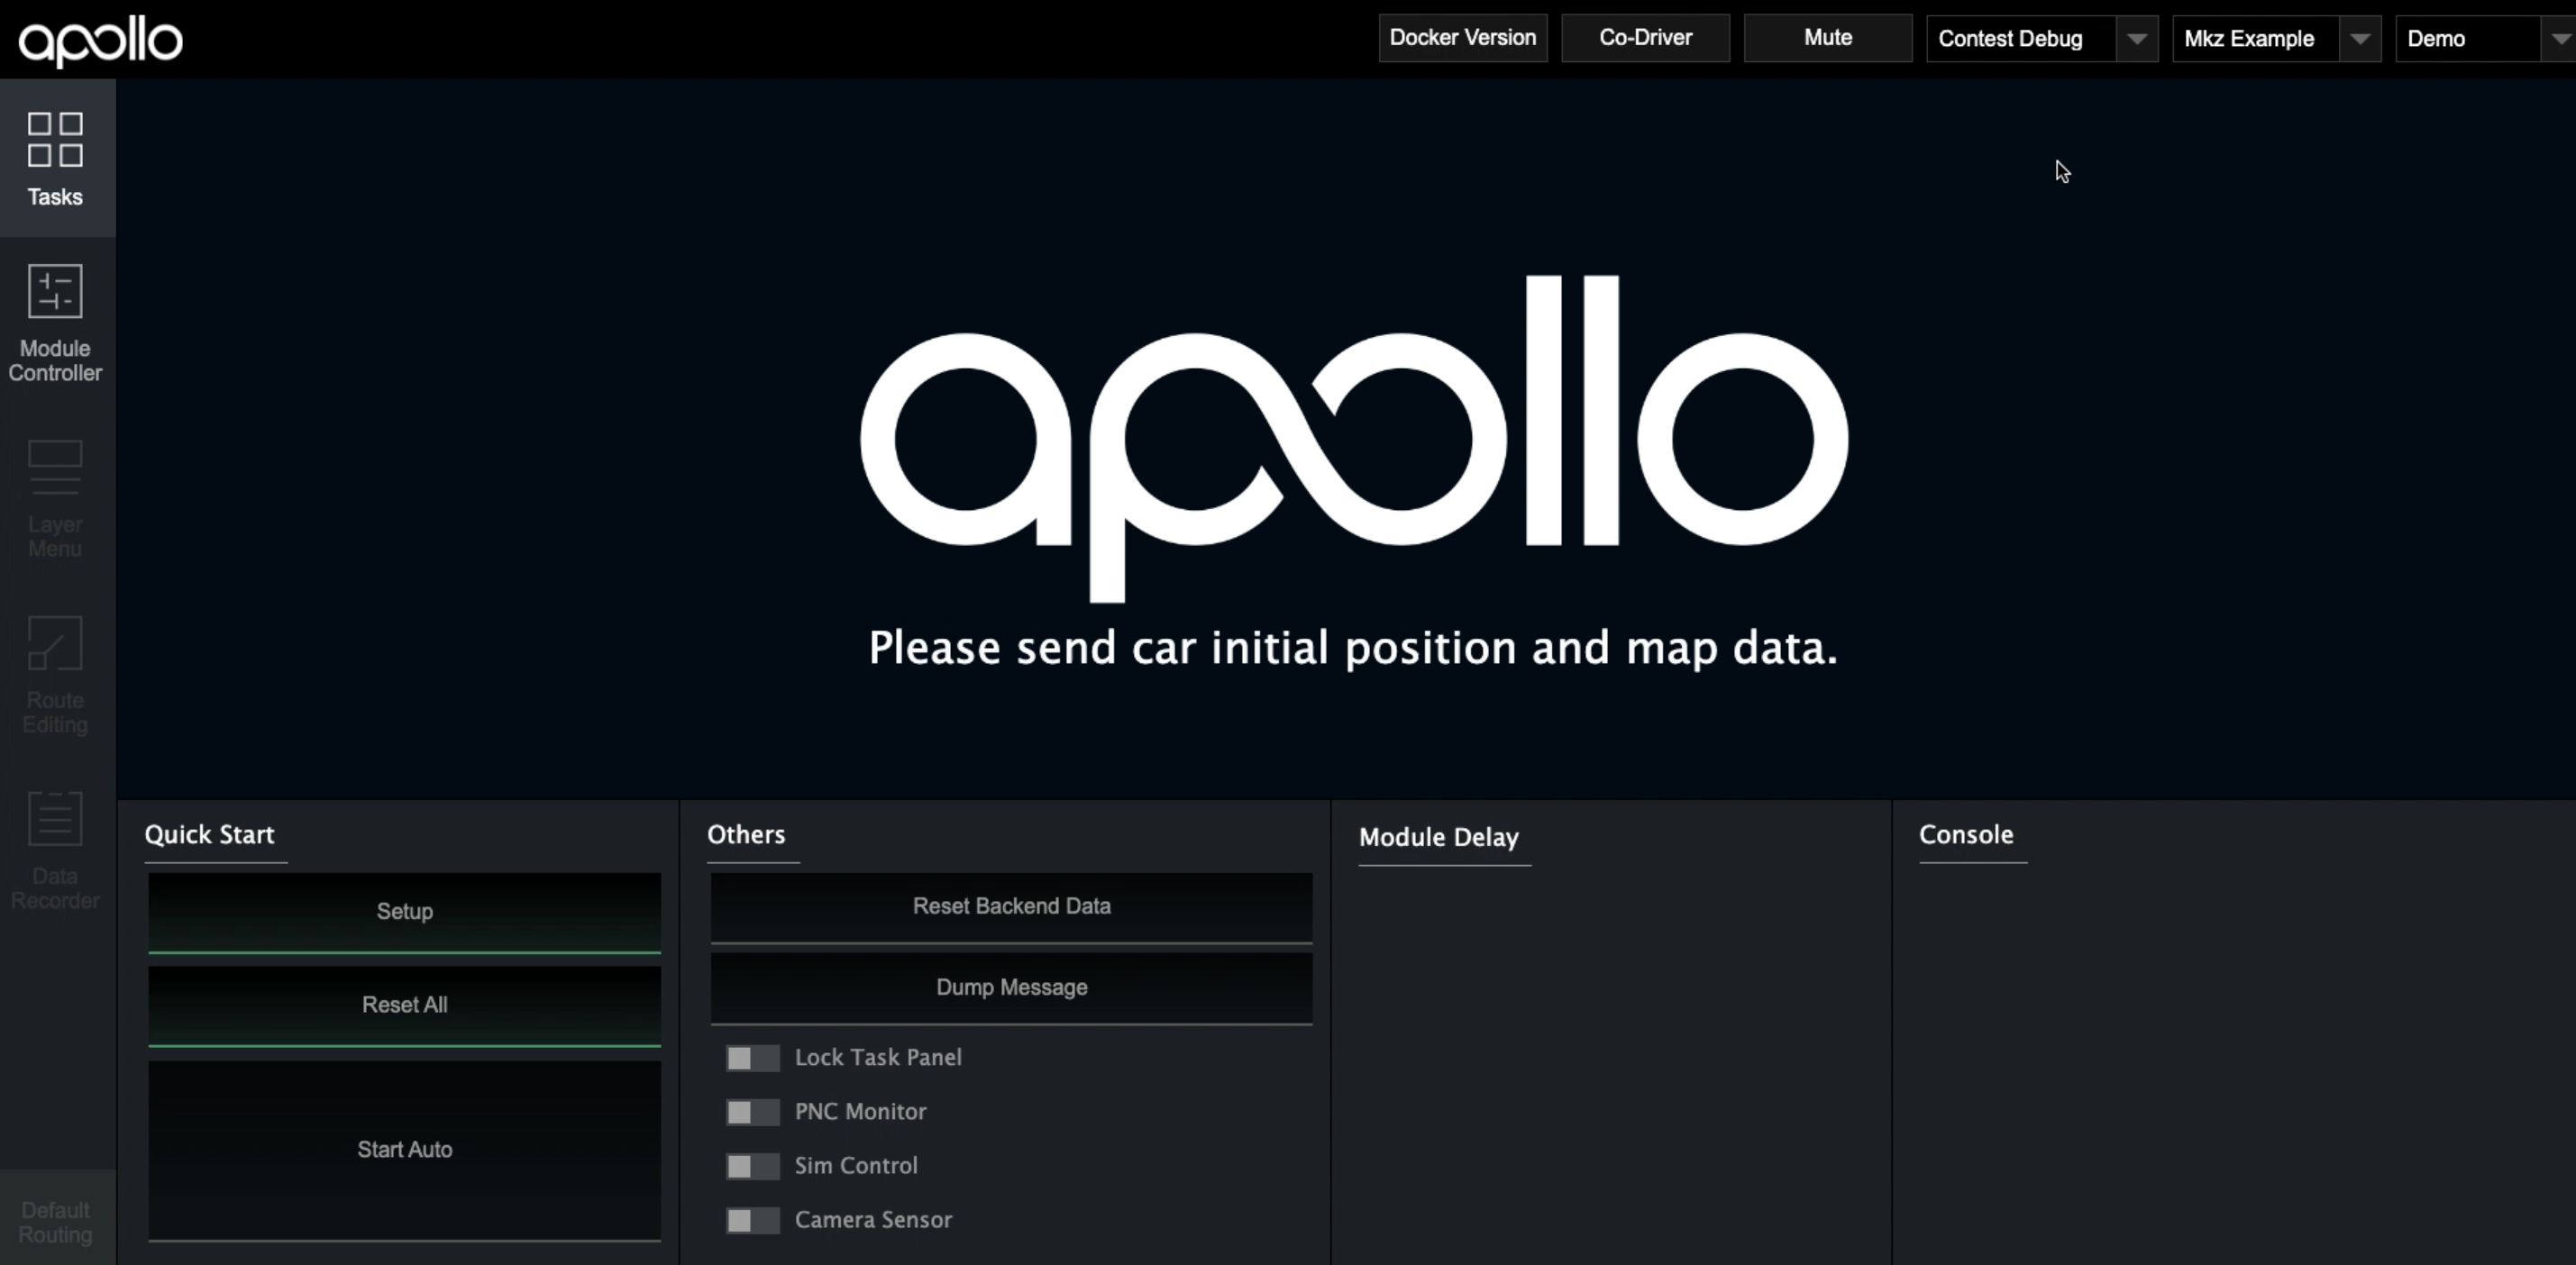
Select the mode, model and map.
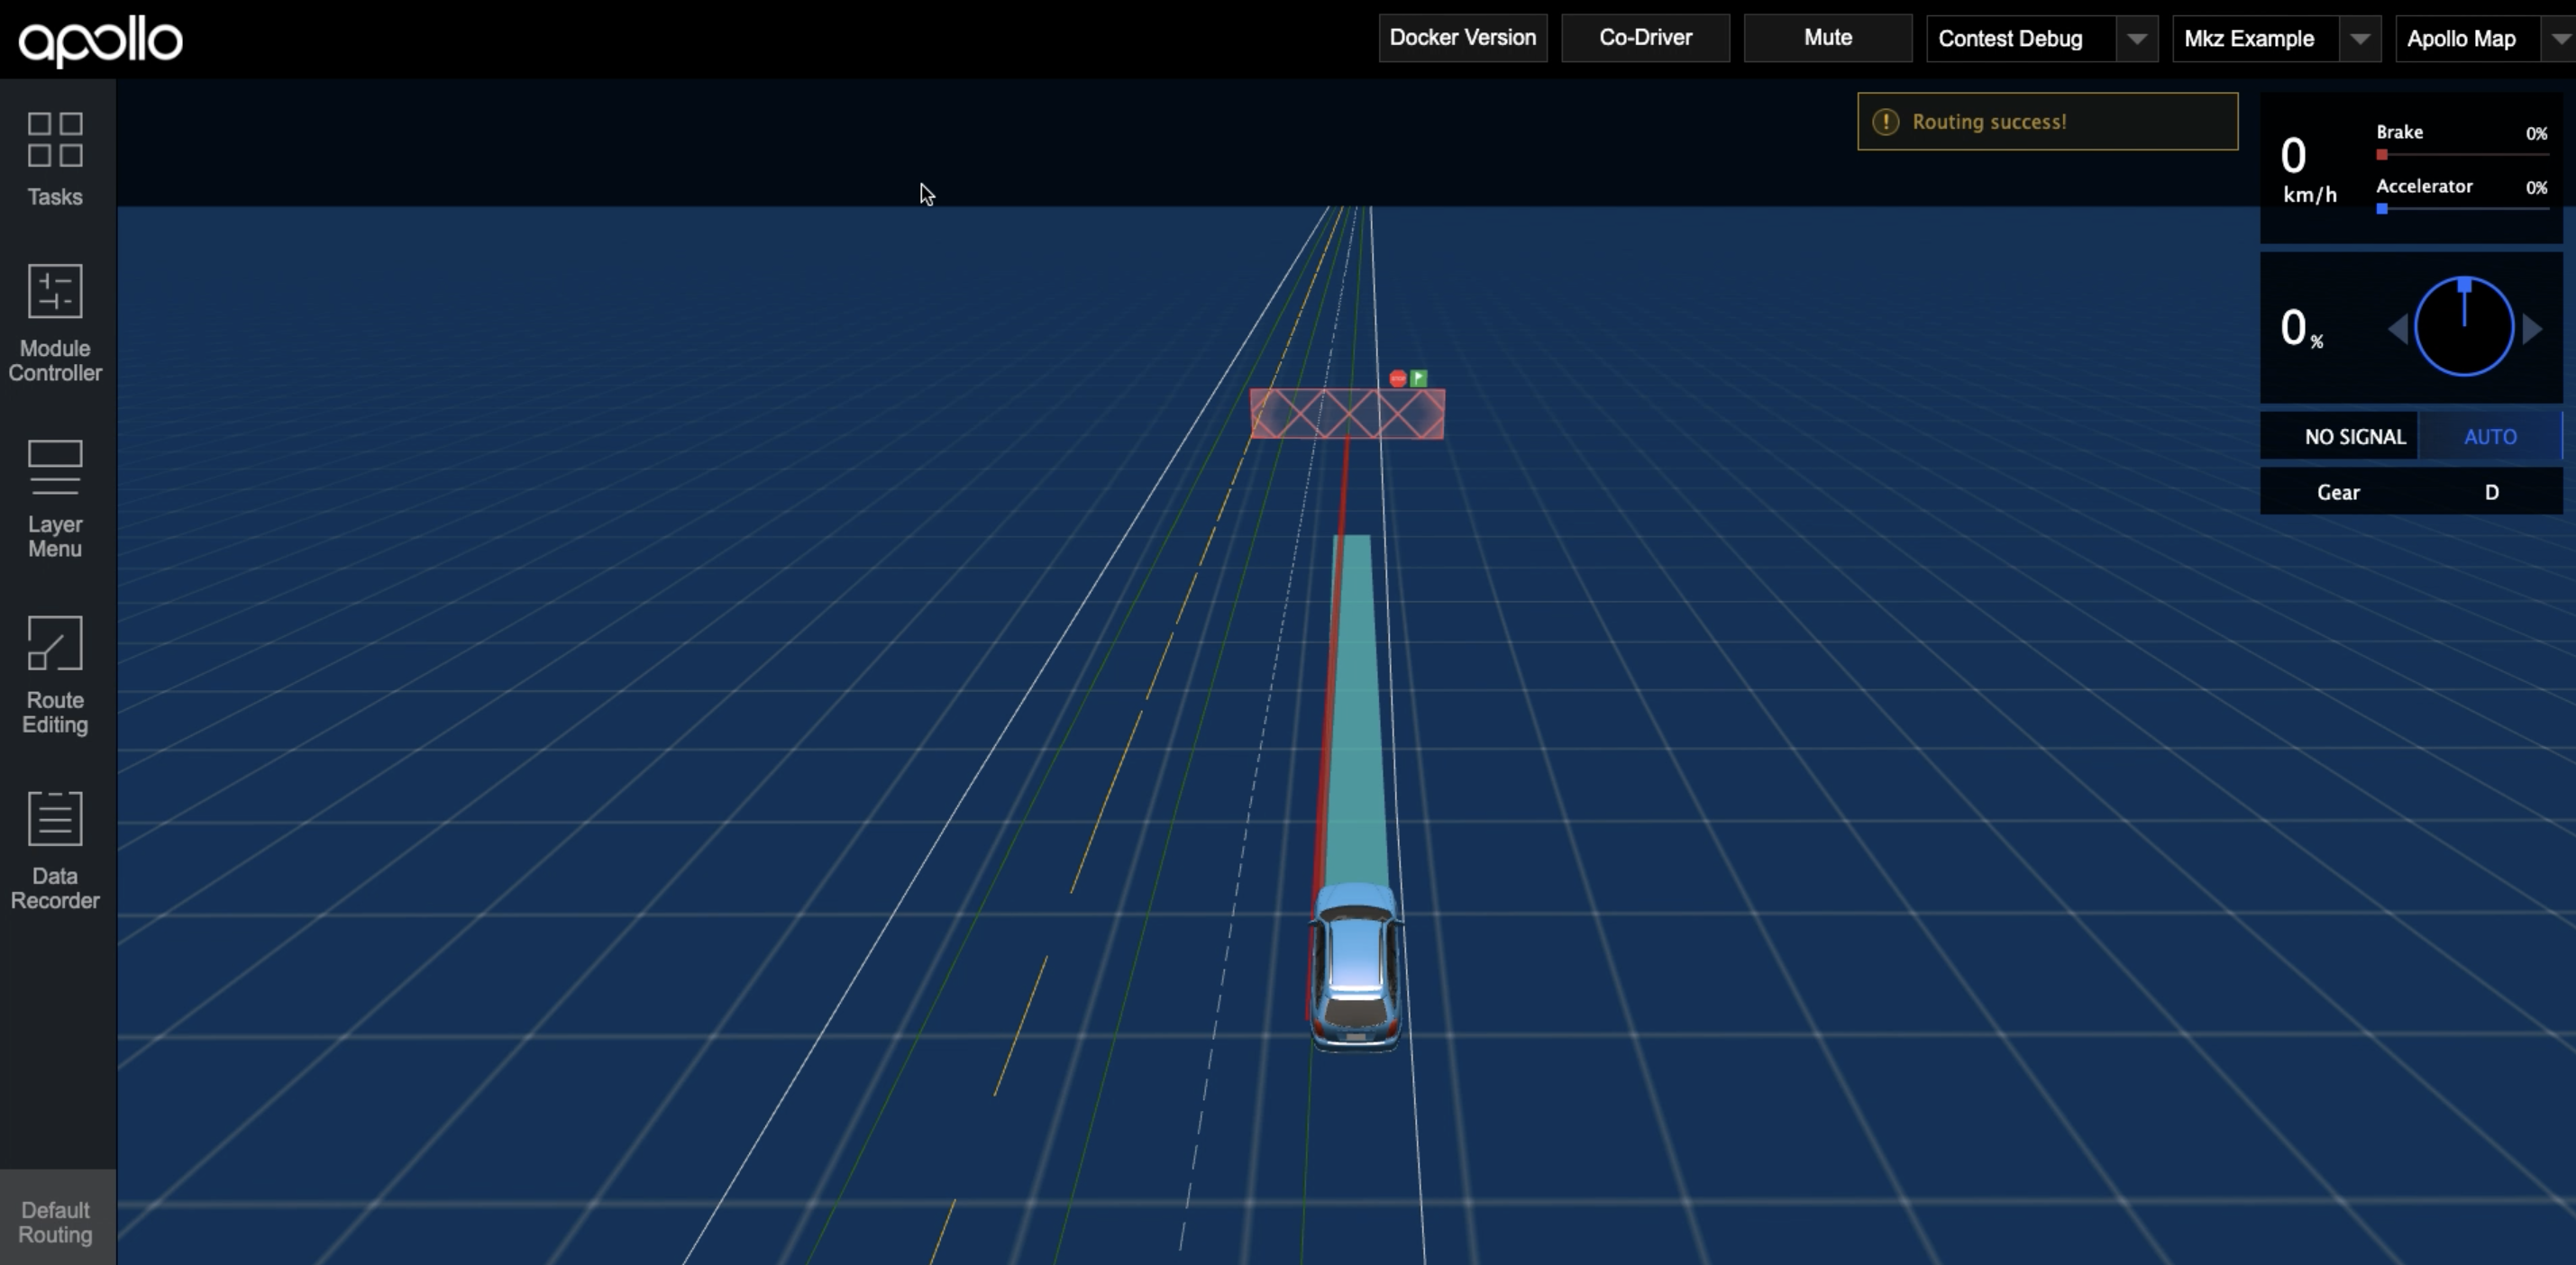
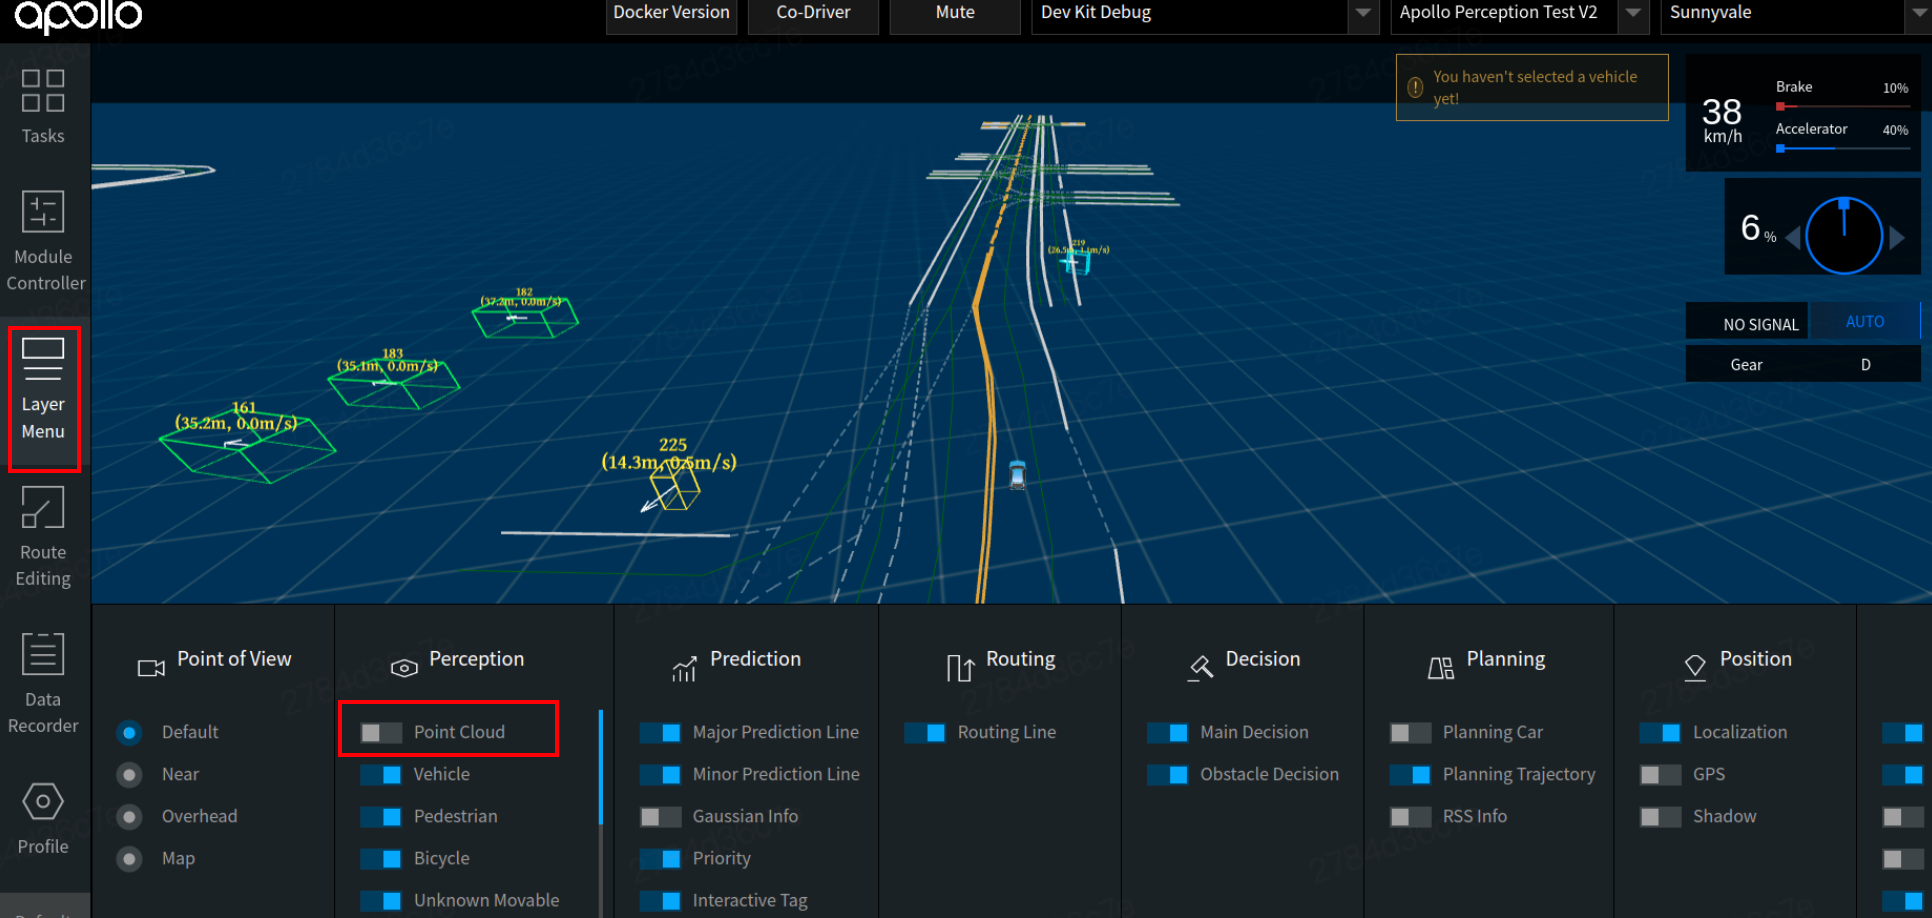
Click Tasks, and in the Others module, select Sim Control to enter the simulation control, as shown in the following figure.

buildtool build --packages planning_customization
This scenario describes how to start the Lidar Perception module using a package to help developers get familiar with the Apollo Perception module. You can observe the results of the Lidar Perception run by playing the record provided by Apollo.
This document assumes that you have followed the Installation - Package Method > Installing Apollo environment manager tool to complete Steps 1 and 2. Compared to the three examples above, testing the sensing module functionality requires the use of the GPU, so you should obtain the GPU image of the package for testing and verification.
mkdir application-demo
cd application-demo
aem start_gpu -f
aem enter
aem init
wget https://apollo-system.bj.bcebos.com/dataset/6.0_edu/sensor_rgb.tar.xz
sudo mkdir -p ./data/bag/
sudo tar -xzvf sensor_rgb.tar.xz -C ./data/bag/
Note: Apollo core can only be installed inside the container, do not perform this step on the host!
In the same terminal, enter the following command to install the DreamView program.
buildtool install --legacy dreamview-dev monitor-dev
buildtool install --legacy perception-dev
buildtool install --legacy localization-dev v2x-dev transform-dev
/apollo/modules/common/data/global_flagfile.txt (or add the pointcloud_topic flag if it doesn't exist) to specify the channel for point cloud data.--pointcloud_topic=/apollo/sensor/velodyne64/compensator/PointCloud2

aem bootstrap
Enter localhost:8888 in the browser to open the DreamView page, then select the correct mode, model, and map.
Click the Module Controller module in the status bar on the left side of the page to start the transform module.

mainboard -d /apollo/modules/perception/production/dag/dag_streaming_perception_lidar.dag
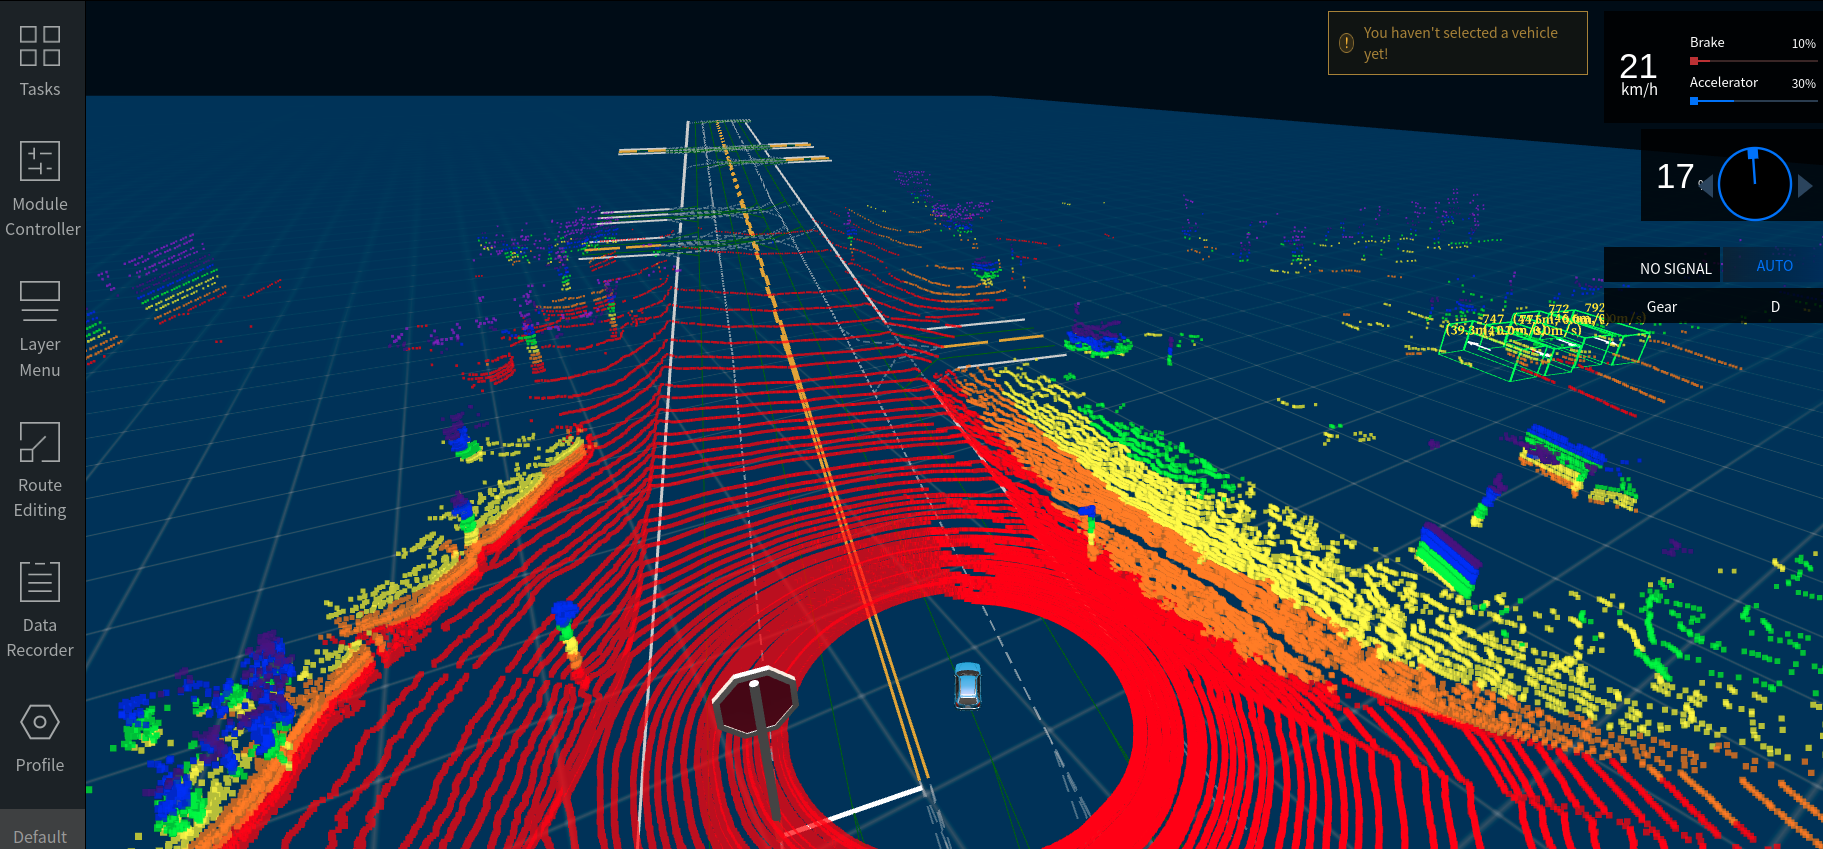
cyber_recorder play -f ./data/bag/sensor_rgb.record -k /perception/vehicle/obstacles /apollo/perception/obstacles /apollo/perception/traffic_light /apollo/perception
To view the results.
The following describes the parameter configuration and replacement process for the MASK_PILLARS_DETECTION, CNN_SEGMENTATION, and CENTER_POINT_DETECTION models in the lidar detection process. You can easily replace these in lidar_detection_pipeline.pb.txt configuration to load and run a different model.
MASK_PILLARS_DETECTION Model Replacement
Modify the contents of the configuration file in lidar_detection_pipeline.pb.txt
vim /apollo/modules/perception/pipeline/config/lidar_detection_pipeline.pb.txt
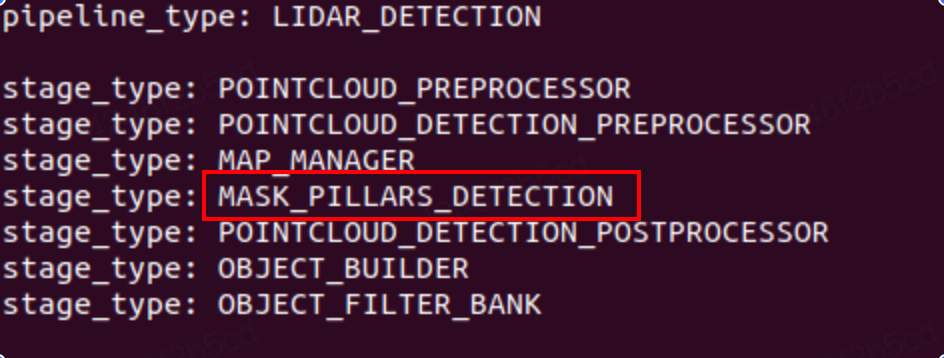
Replace stage_type with MASK_PILLARS_DETECTION
stage_type: MASK_PILLARS_DETECTION
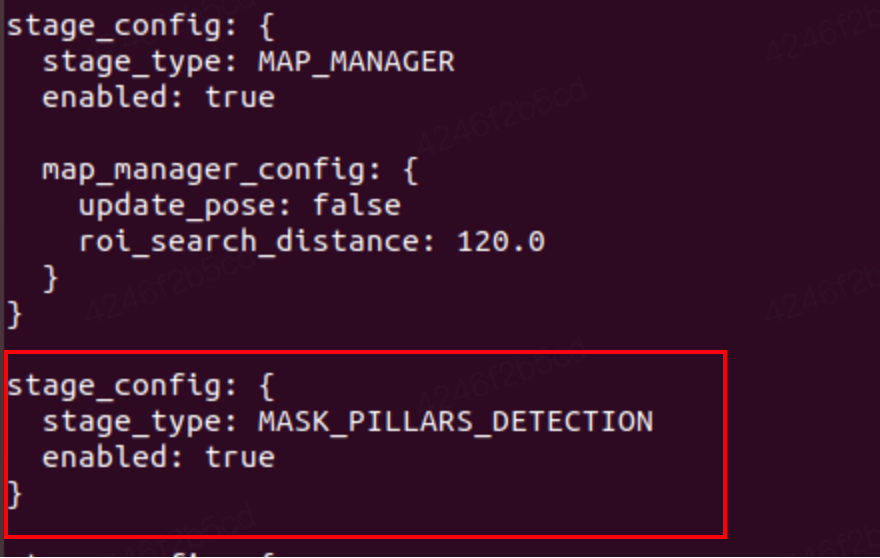
and change the content of the configuration file information of the corresponding stage to
stage_config: {
    stage_type: MASK_PPILLARS_DETECTION
    enabled: true
}
After saving the configuration file changes, start the LIDAR module and play the record to verify the detection results.

CNN_SEGMENTATION model replacement
Modify the content of the configuration file in lidar_detection_pipeline.pb.txt: replace stage_type with CNN_SEGMENTATION and modify the content of the configuration file of the corresponding stage.
stage_type: CNN_SEGMENTATION
stage_config: {
  stage_type: CNN_SEGMENTATION
  enabled: true

  cnnseg_config: {
    sensor_name: "velodyne128"
    param_file: "/apollo/modules/perception/production/data/perception/lidar/models/cnnseg/velodyne64/cnnseg_param.conf"
    proto_file: "/apollo/modules/perception/production/data/perception/lidar/models/cnnseg/velodyne64/deploy.prototxt"
    weight_file: "/apollo/modules/perception/production/data/perception/lidar/models/cnnseg/velodyne64/deploy.caffemodel"
    engine_file: "/apollo/modules/perception/production/data/perception/lidar/models/cnnseg/velodyne64/engine.conf"
  }
}
Start the lidar module and play the record to verify the detection result.
CENTER_POINT_DETECTION model replacement
Replace stage_type with CENTER_POINT_DETECTION:
stage_type: CENTER_POINT_DETECTION
and change the content of the configuration file information of the corresponding stage to
stage_config: {
  stage_type: CENTER_POINT_DETECTION
  enabled: true
}
Start the LIDAR module and play the record to verify the detection result:
This section describes how to install the Apollo modules' source code under the workspace after installing the package.
Download demo project
git clone https://github.com/ApolloAuto/application-demo.git
Enter project directory
cd application-demo
the folder will be mounted to /apollo_workspace
Start apollo env container
aem start
Enter apollo env container
aem enter
Execute the following command to install the source code
buildtool install cyber-dev audio-dev bridge-dev canbus-dev canbus-vehicle-lincoln-dev common-dev control-dev dreamview-dev drivers-dev guardian-dev localization-dev map-dev monitor-dev perception-dev planning-gpu-dev prediction-dev routing-dev storytelling-dev task-manager-dev third-party-perception-dev transform-dev v2x-dev
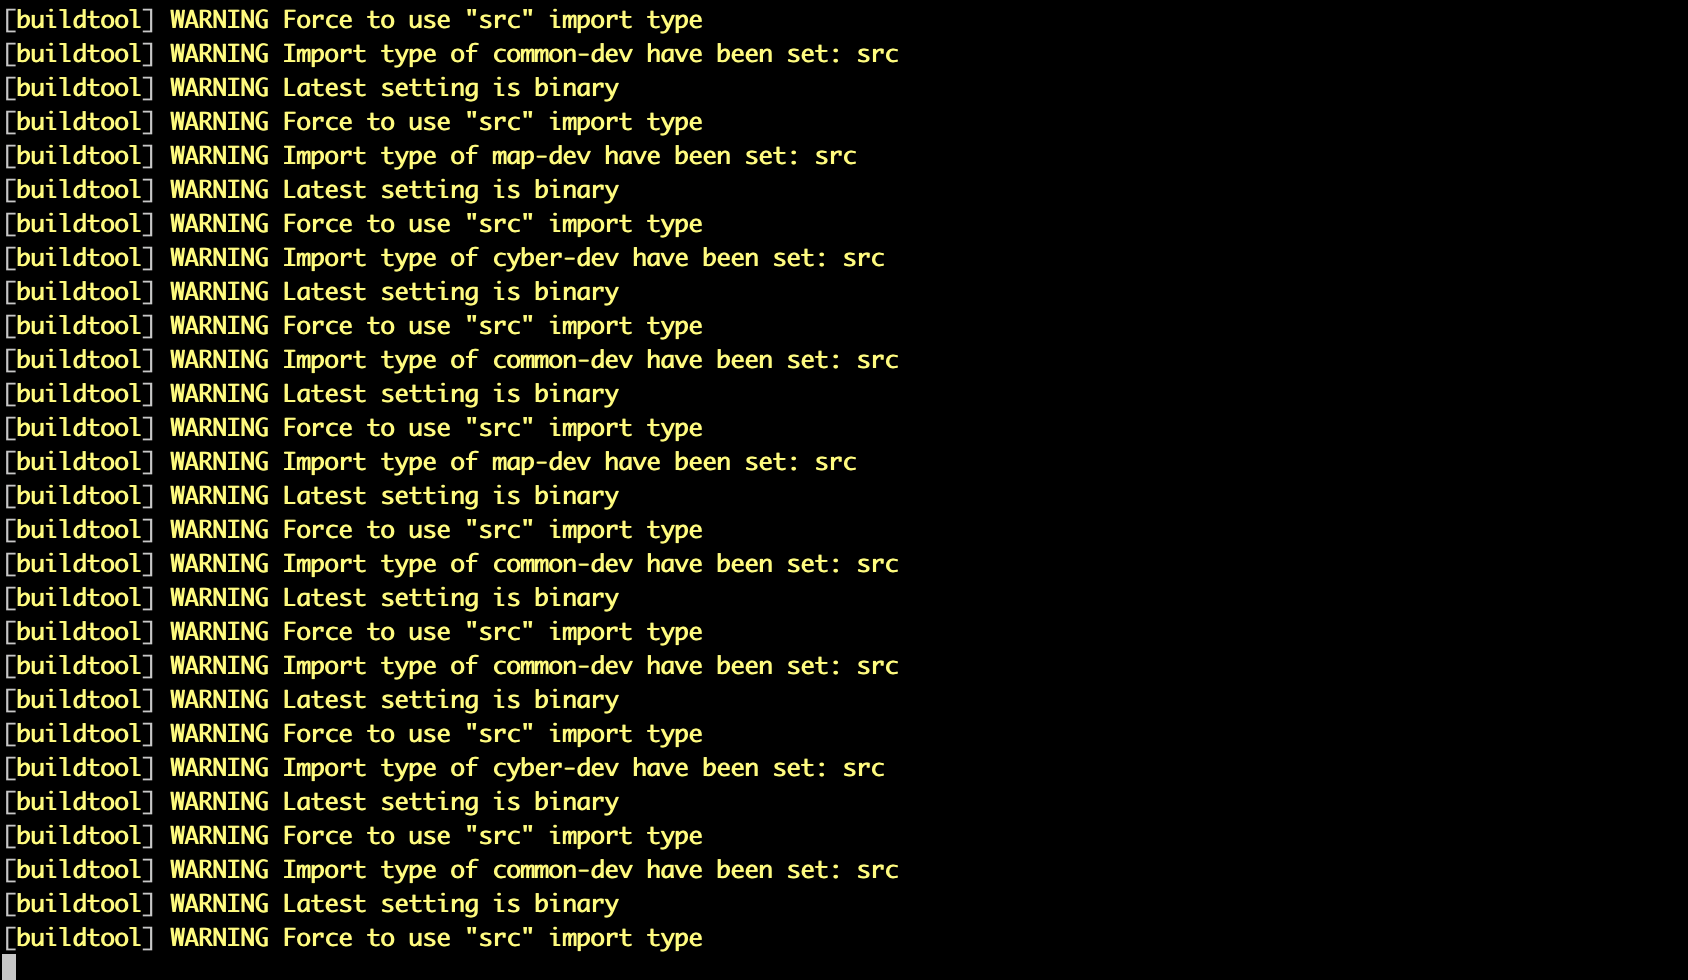
A series of warnings may appear during the installation process, which is normal and can be ignored.
此处可能存在不合适展示的内容,页面不予展示。您可通过相关编辑功能自查并修改。
如您确认内容无涉及 不当用语 / 纯广告导流 / 暴力 / 低俗色情 / 侵权 / 盗版 / 虚假 / 无价值内容或违法国家有关法律法规的内容,可点击提交进行申诉,我们将尽快为您处理。


